As the leaves change colors and the air turns crisper, it’s time to embrace the beauty of fall in every way possible, including your nails. This step-by-step guide will walk you through creating gorgeous fall nail designs at home. Whether you’re a nail art novice or an experienced DIY enthusiast, these autumn-inspired nail designs are sure to elevate your style as you embrace the spirit of the season.
Materials You’ll Need:
Before we dive into the step-by-step tutorials, gather these essential materials:
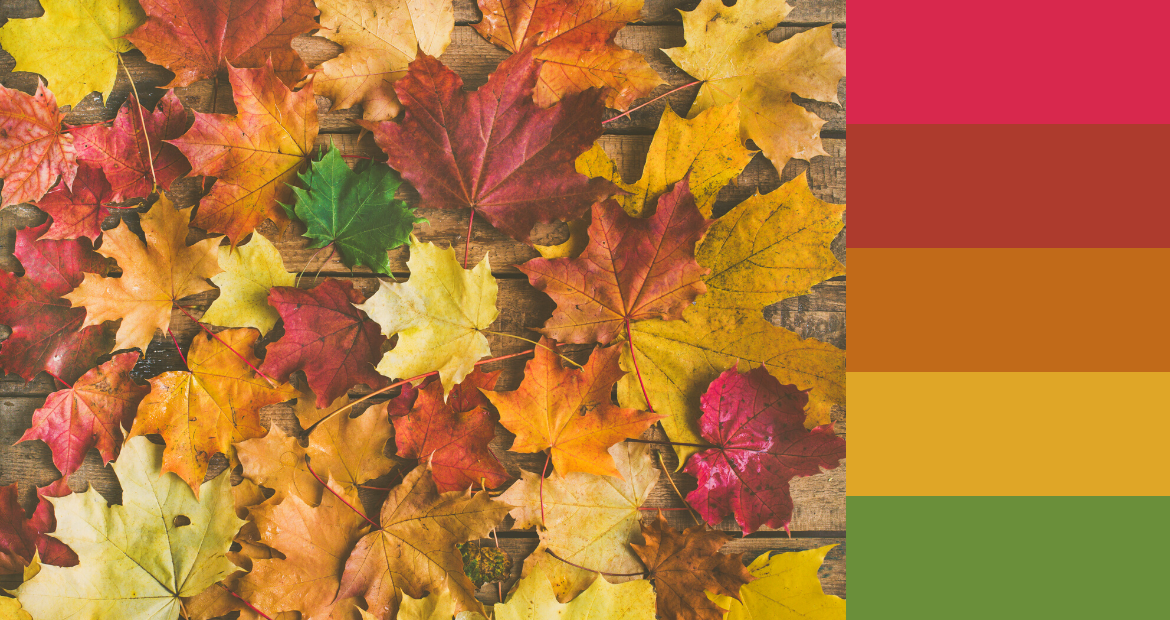
- Nail polish in fall shades (think warm reds, oranges, browns, and deep greens)
- Base coat and top coat
- Nail art brushes or toothpicks
- Nail polish remover and cotton pads for cleanup
- Small dish of water (for water marbling, if desired)
- Nail stickers or stencils (optional)
- Matte topcoat (optional, for a matte finish)
Step 1: Prepare Your Nails
Start with a clean canvas by removing any old nail polish and shaping your nails to your desired length and style. Push back your cuticles gently and moisturize your hands for a polished look.
Step 2: Apply the Base Coat
Apply a thin layer of base coat to all your nails. This will protect your natural nails and help the polish adhere better, ensuring a longer-lasting manicure.
Step 3: Choose Your Fall Colors

Select your autumn-inspired nail polish colors. Classic choices include warm reds, burnt oranges, deep browns, and forest greens. You can use one color for a monochromatic look or mix and match for a more intricate design.
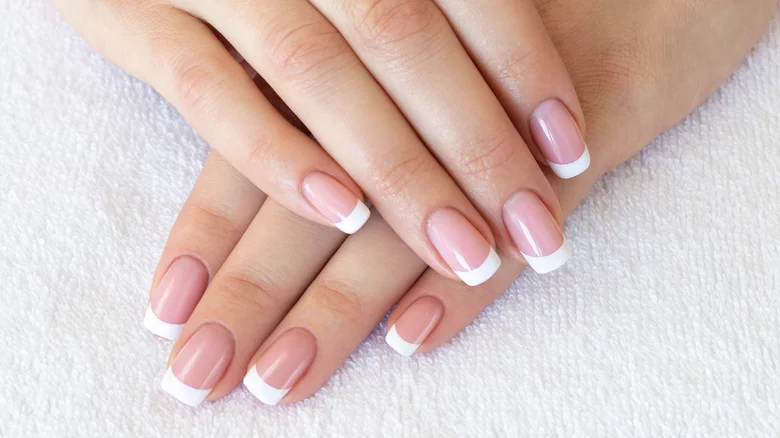
Step 4: Create a Classic Fall French Tip

For a classic fall French tip design, choose a deep color for the tips of your nails. Here’s how to do it:
- Dip the tip of the nail brush in your chosen fall color.
- Carefully draw a straight line across the tip of your nail.
- Fill in the area below the line with your chosen color.
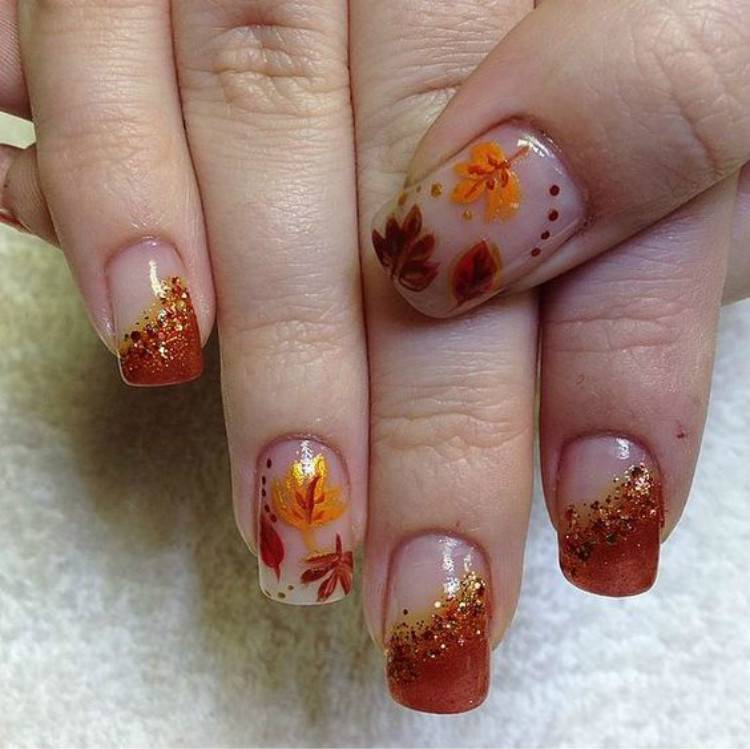
Step 5: Simple Autumn Leaves


To add a touch of fall foliage to your nails, follow these steps:
- Select a nail as your accent nail.
- Paint it a deep, rich green or brown for the base color.
- Use a nail art brush or toothpick to create small red, orange, and yellow leaves on the accent nail.
- Dip the brush or toothpick into the paint and create leaf shapes by making tiny dots and dragging them into points.
- Repeat this process on other nails if desired, or keep them solid fall colors.
Step 6: Chic Plaid Design

For a stylish plaid pattern on your nails, here’s what you can do:
- Apply a base color in a warm, autumn shade like deep red or brown.
- Using a nail art brush or toothpick, draw thin vertical and horizontal lines in a contrasting color (e.g., gold or white) to create a plaid pattern.
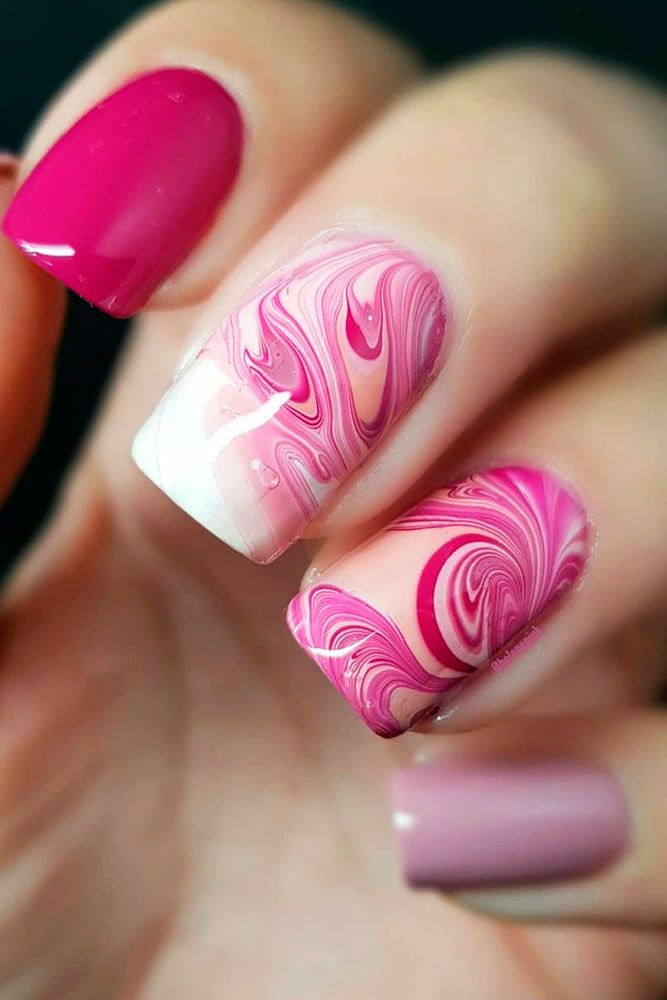
Step 7: Water Marble Effect (Optional)

For a unique water marble effect, follow these steps:
- Fill a small dish with room-temperature water.
- Drop a few different fall nail polish colors onto the water’s surface, creating concentric circles.
- Use a toothpick to gently swirl the colors together.
- Dip your nail into the water, allowing the polish to adhere to your nail.
- Carefully remove your nail from the water and clean up any excess polish around your finger.
- Finish with a top coat for a glossy finish.
Step 8: Apply a Top Coat
Once your nail designs have dried completely, apply a top coat to seal in the colors and provide a shiny, long-lasting finish.
Step 9: Cleanup
Use a small brush or a cotton swab dipped in nail polish remover to clean up any polish that may have strayed outside your nail edges.
Step 10: Optional Matte Finish
For a trendy matte finish, you can apply a matte top coat over your nail designs instead of a glossy one.
Conclusion
With these easy-to-follow steps, you can create beautiful fall nail designs at home that capture the essence of the season. Whether you opt for a classic French tip, intricate leaves, chic plaid, or a unique water marble effect, your autumn-inspired nails are sure to turn heads and complement your fall wardrobe. Get creative, have fun, and embrace the cozy vibes of fall right at your fingertips!
